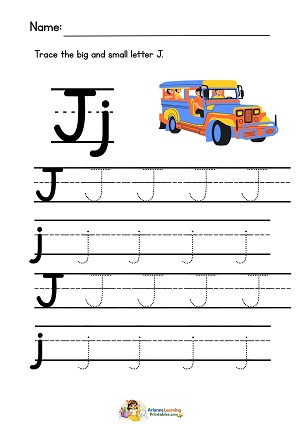
The letter J tracing worksheet marks an exciting turning point in a child’s handwriting development. While previous letters like L, T, or H focus on rigid, straight paths, the letter J introduces a more sophisticated level of pencil control. It is often one of the first times a young learner must combine a straight vertical drop with a fluid, rounded finish.
Breaking Down the Mechanics of the Letter J
The letter J is unique because it forces the hand to transition between two distinct types of movement. This transition is a major milestone in fine motor skill progression:
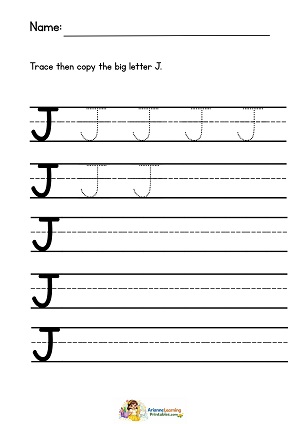
- The Smooth Downward Movement: To form a proper “J,” a child must start with a steady, vertical stroke. This builds on the foundational “top-to-bottom” logic used in letters like “I” and “L,” reinforcing the habit of starting letters at the top of the line.
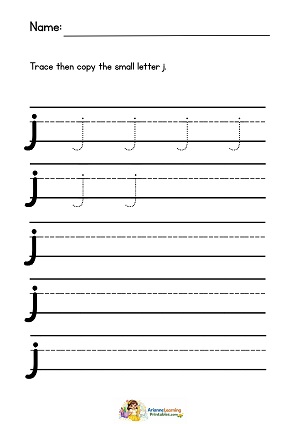
- The Curvilinear Transition: The real magic happens at the bottom. The letter J introduces a new motion—a curve that ends in a hook. Unlike the sharp 90-degree angles found in the letter “L,” the “J” requires the child to begin the turn before the stroke is finished, teaching them how to anticipate a change in direction.
- Directional Change: Mastering the “hook” is essential for developing handwriting fluidity. It teaches the wrist and fingers to move in a continuous, sweeping motion rather than a series of disconnected stops and starts.
Why the “Hook” Matters for Future Writing
Practicing the curved tail of the “J” is more than just an alphabet exercise; it is “pre-cursive” training. The ability to execute a change in direction smoothly is a prerequisite for many lowercase letters (like g, j, y, and q) and is the primary skill needed for eventual cursive fluency.
Expert Teaching Tip: When guiding a child through a letter J tracing activity, describe the motion as a “sliding board with a scoop at the bottom.” This imagery helps them understand that the movement should be one continuous, graceful action rather than two separate lines.
Key Benefits of Letter J Tracing Worksheets
| Skill Feature | Educational Impact |
| The Bottom Hook | Enhances wrist flexibility and prepares the child for curved characters. |
| Vertical Alignment | Ensures the letter stays “grounded” on the baseline without tilting. |
| Directional Awareness | Teaches the difference between a leftward curve (J) and a rightward curve (like the bottom of a U). |
Enhancing Literacy Through Physical Practice
Using a dedicated letter J worksheet helps solidify letter recognition by connecting the visual shape to a specific physical sensation. When a child feels the “swing” of the hook, they are more likely to remember the letter and its associated sound (/j/ as in “jellyfish”).
By focusing on the smooth transition from a straight line to a curve, you are helping your student build the confidence and dexterity needed for the entire alphabet. The letter J may be a “hook,” but it’s also the perfect “catch” for improving overall penmanship.
Do you notice your learners struggling more with keeping the “hook” on the line, or are they finding the transition from the straight vertical part to be the trickier bit?
🎯 Focus Skills
- Downward stroke control
- Curved hook motion
- Direction change
✍️ Teaching Steps
- Start at the top
- Draw a straight line downward
- Curve at the bottom
🎮 Activity: “Hook Drawing Practice”
Let your child draw small hooks repeatedly.
⚠️ Common Mistakes
- Hook too sharp or too flat
- Starting from the bottom
- Uneven curve
📊 Difficulty: Medium
🔗 Continue Learning
Related Worksheets:
 How to Teach Letter A Tracing (Free Printable Worksheet for Preschoolers)
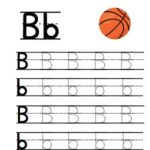 How to Teach Letter B Tracing (Free Printable Worksheet for Preschoolers)
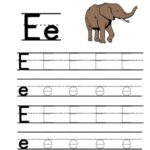 How to Teach Letter E Tracing (Free Printable Worksheet for Preschoolers)
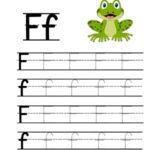 How to Teach Letter F Tracing (Free Printable Worksheet for Preschoolers)
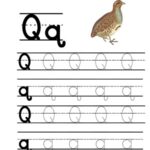 How to Teach Letter Q Tracing (Free Printable Worksheet for Preschoolers)
 How to Teach Letter R Tracing (Free Printable Worksheet for Preschoolers)
Pingback: How to Teach Letter K Tracing (Free Printable Worksheet for Preschoolers) - Arianne Learning Printables Letter K Tracing Worksheet for Preschool (Free Printable + Tips)