
Directed drawing gives young children a clear place to begin while still leaving room for imagination. Each lesson breaks a picture into small, visible changes: one curve, shape, line, or detail at a time. Children can follow the sequence, compare each new step with the one before it, and then make the finished picture their own.
These free directed drawing worksheets for kids are designed for preschool, kindergarten, and early elementary learners. Every printable is A4 size and includes a name line, simple instructions, and space for coloring or creative additions.
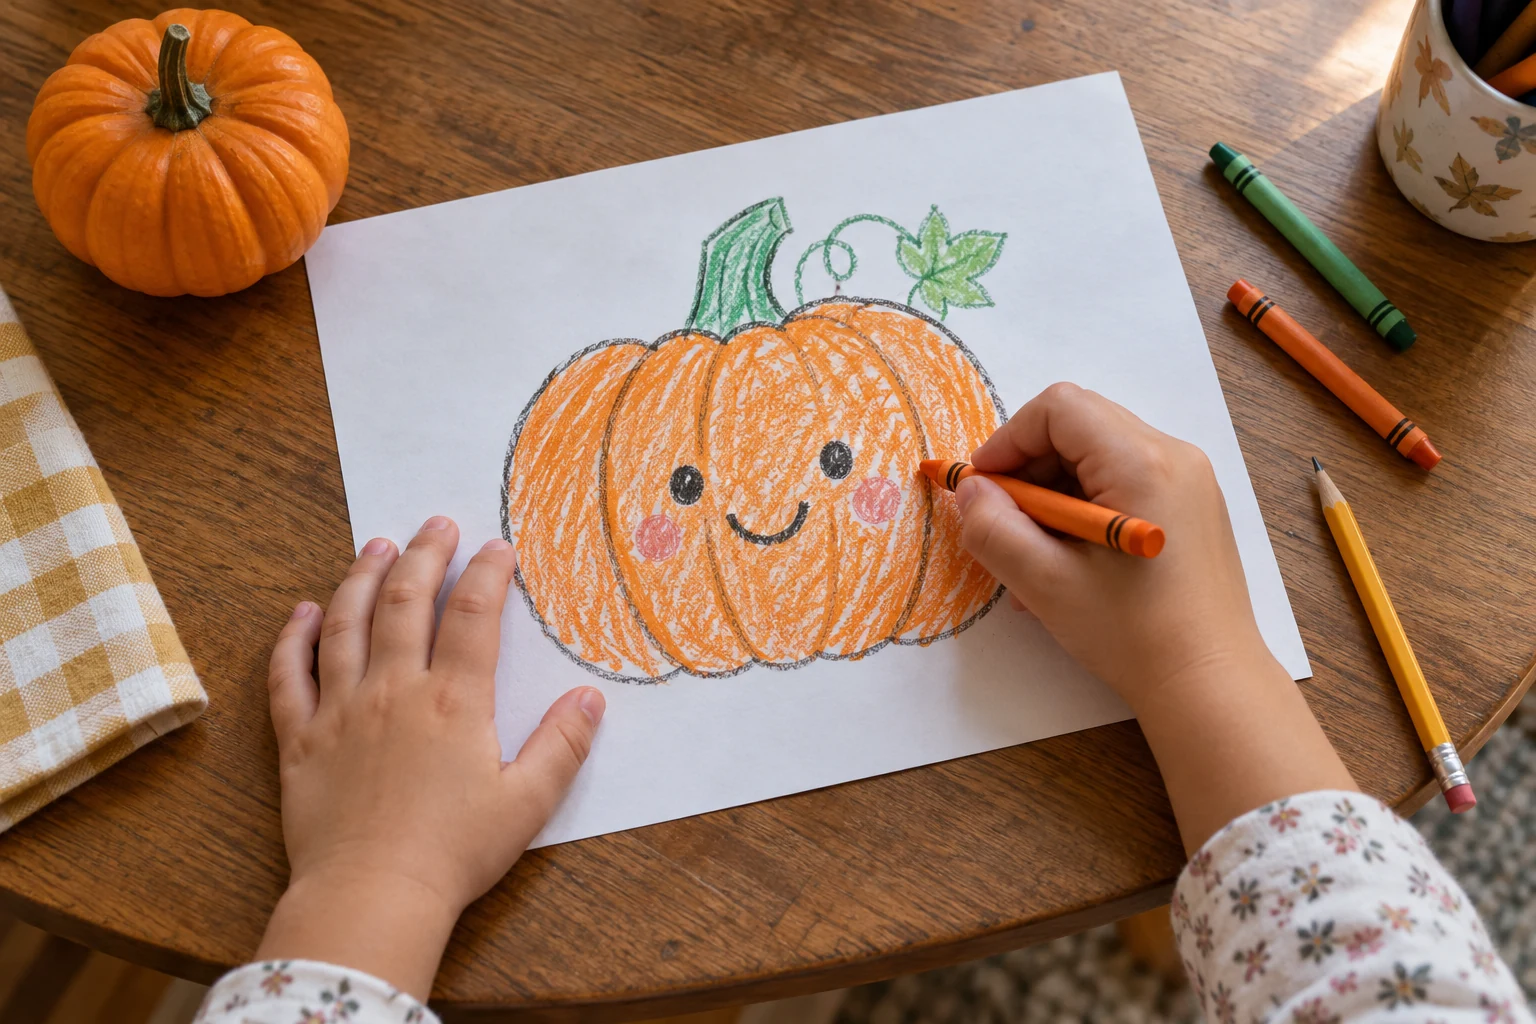
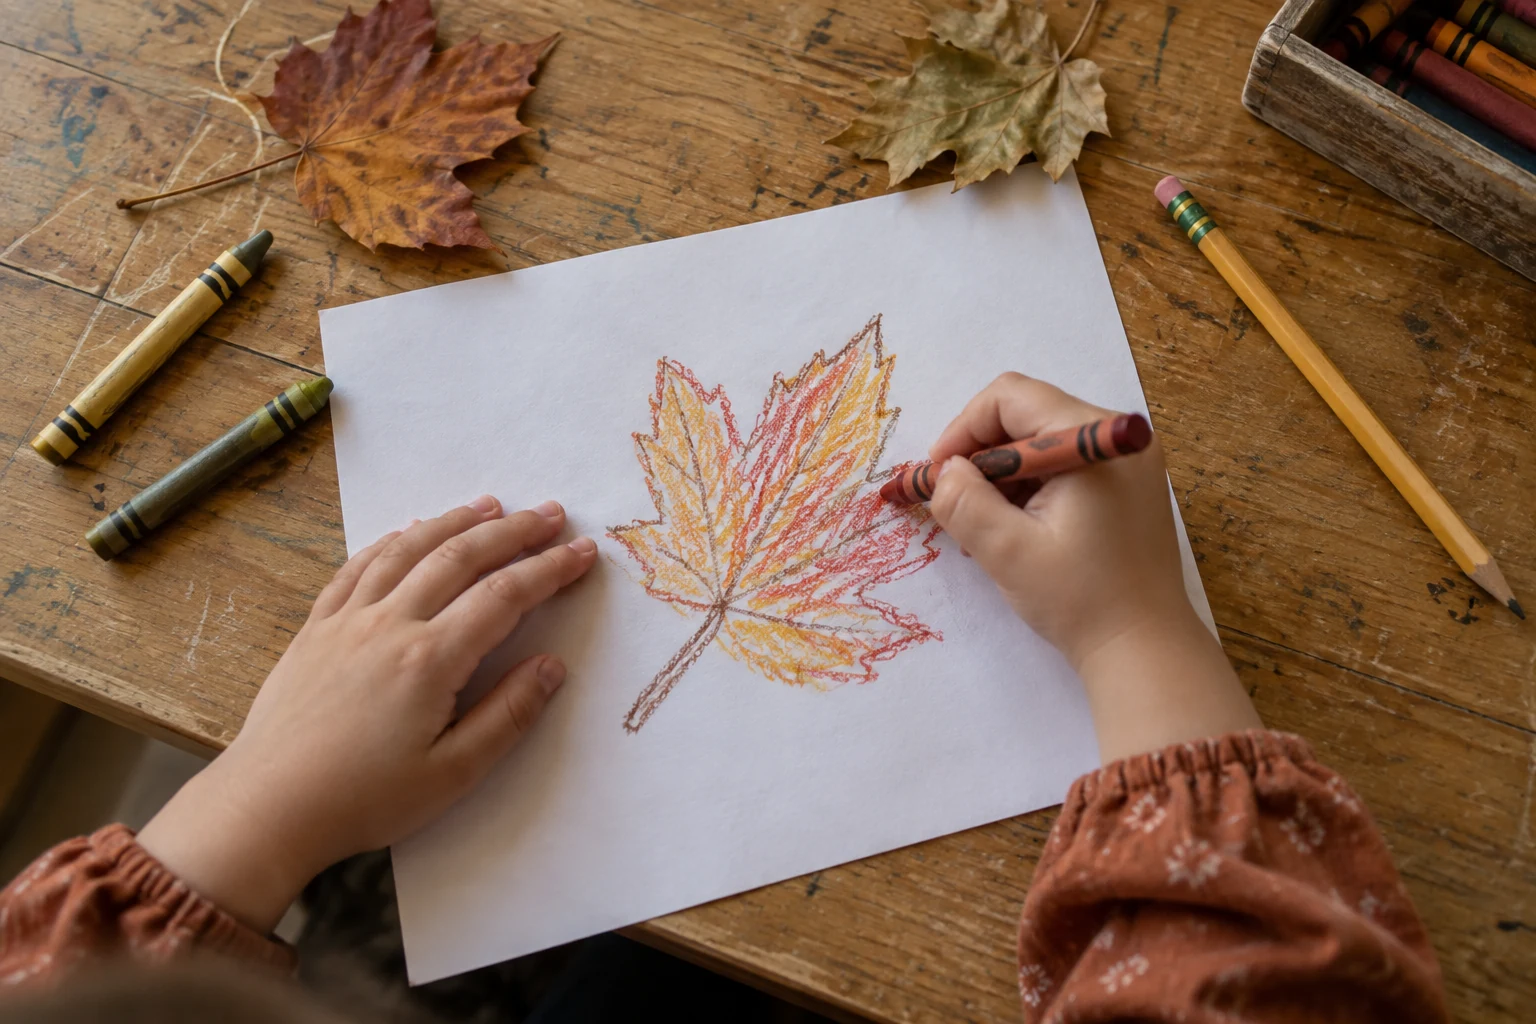
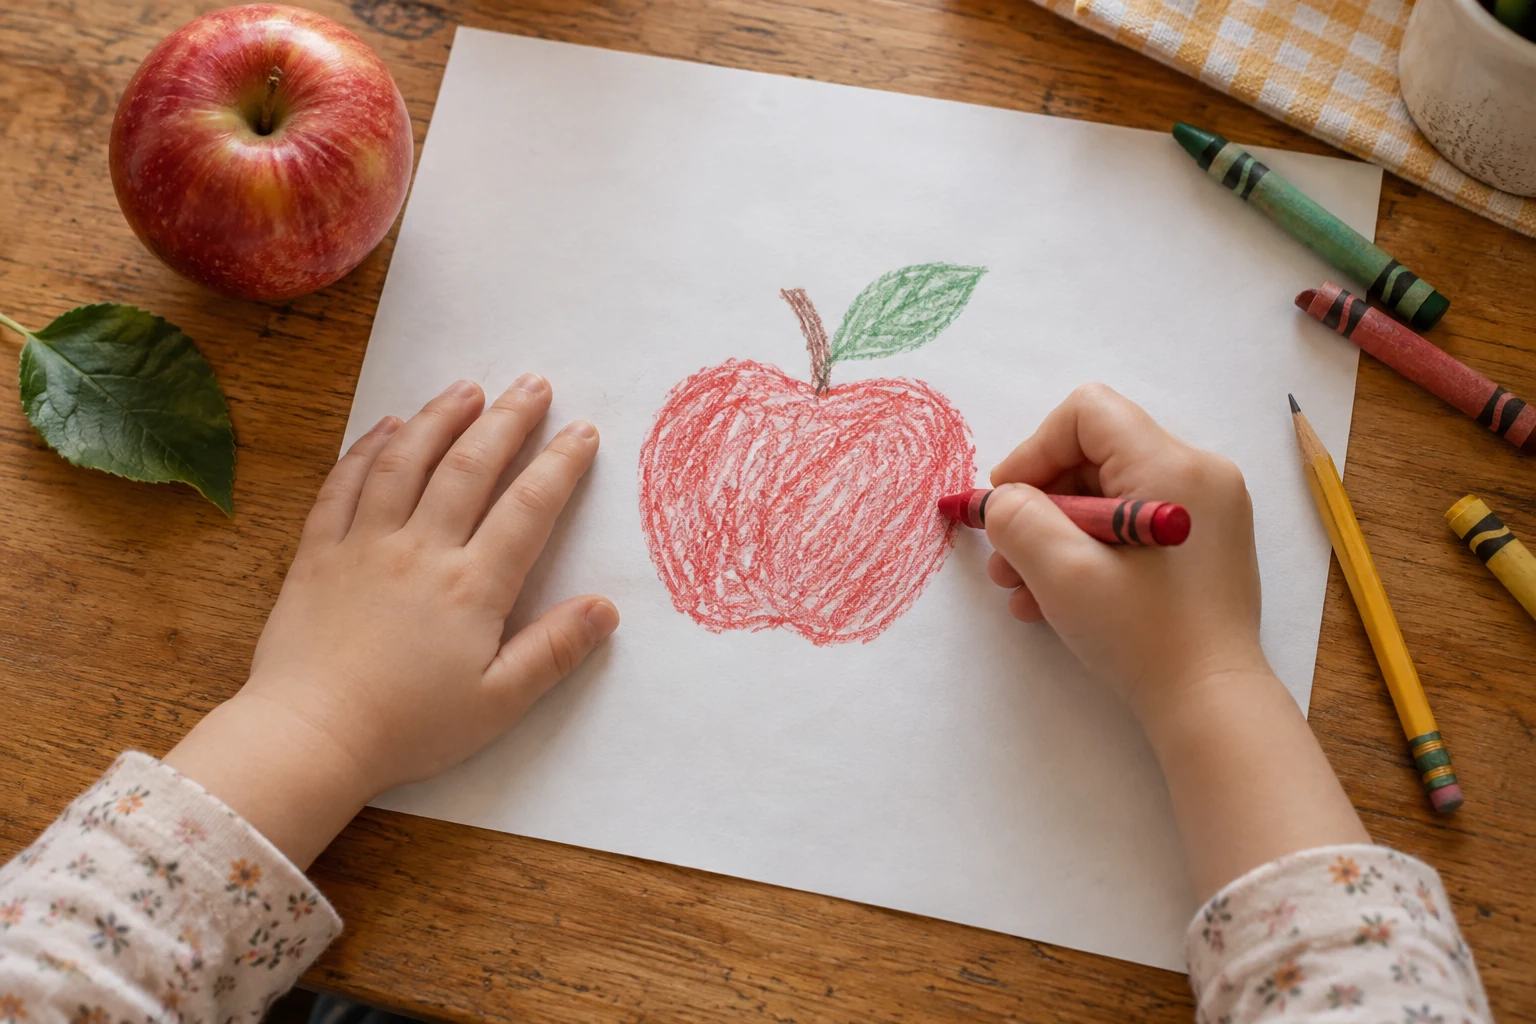
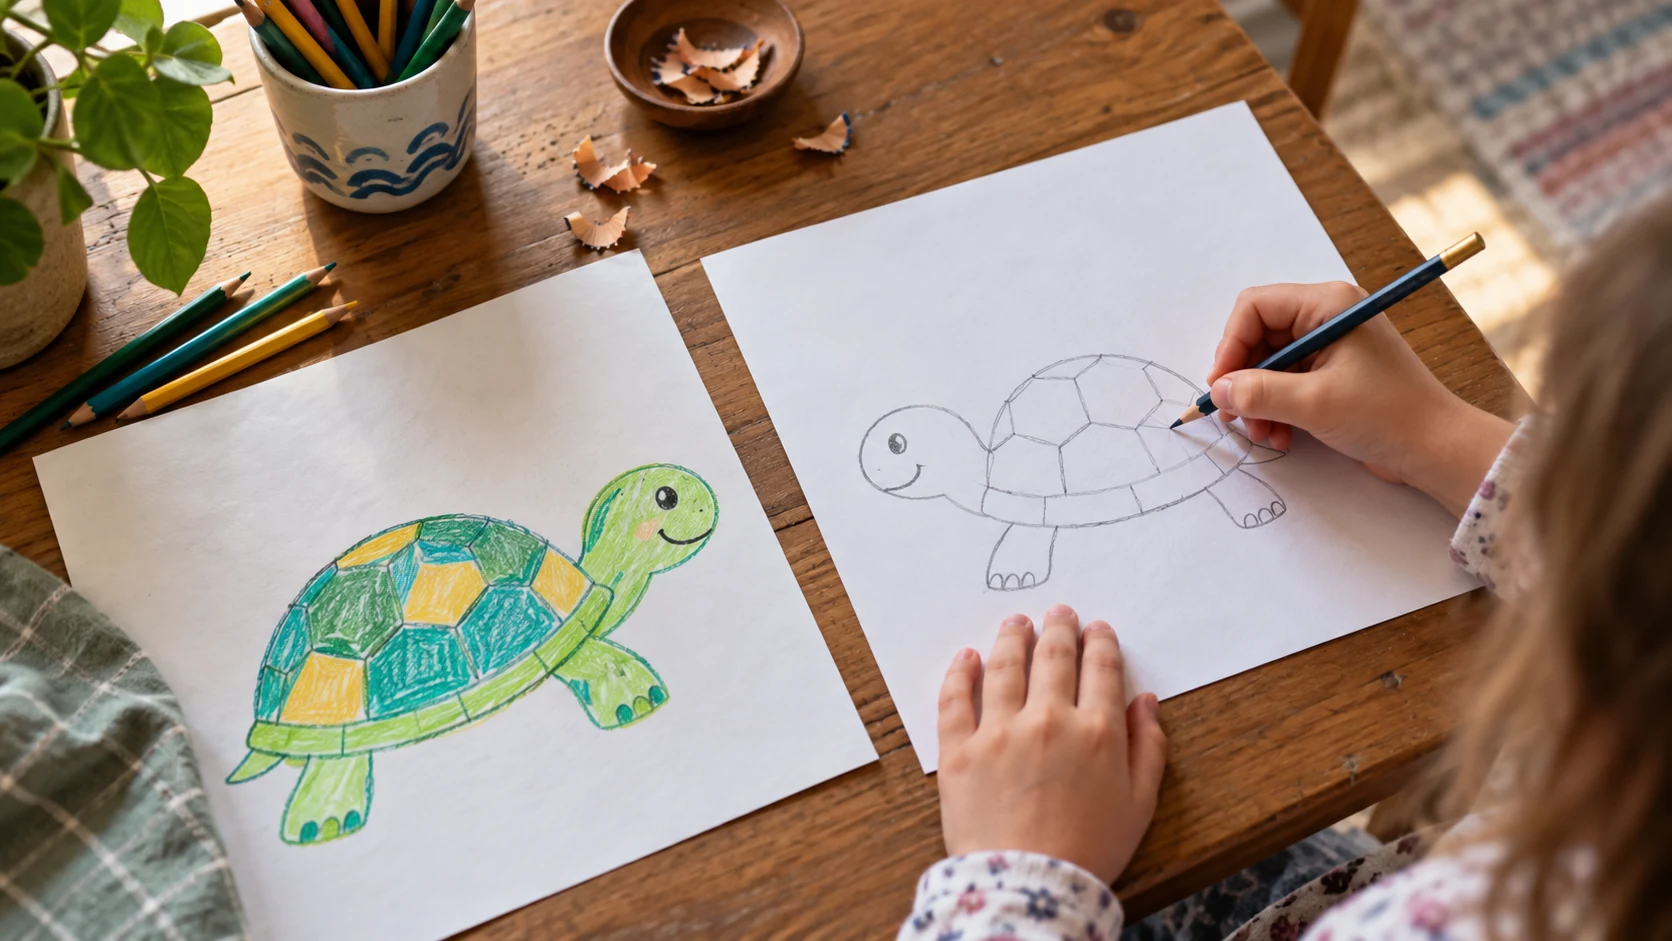
Choose a lesson: Start with the friendly turtle drawing, practice rounded fruit shapes with the apple directed drawing, explore natural lines in the fall leaf lesson, or combine curved ribs and facial expressions in the friendly pumpkin activity.
What Children Learn from Directed Drawing
A useful directed drawing lesson is not a copying test. It teaches children to notice order, position, proportion, and change. When a child sees that a shell begins as an oval or that a leaf grows from one center line, a complicated picture becomes a group of manageable decisions.
- Visual sequencing: noticing what is new in each picture
- Pencil control: practicing curves, straight lines, circles, and joined shapes
- Spatial awareness: placing a smaller part beside, above, or inside a larger shape
- Oral language: explaining the steps and describing the finished artwork
- Creative confidence: making color, pattern, expression, and background choices
A Simple Teaching Routine That Works
1. Observe before drawing
Show the child a real object or a clear photograph when possible. Ask which part is largest, where the smaller parts are attached, and whether both sides look exactly the same. This short conversation helps the child draw from observation instead of treating the worksheet as a symbol to copy.
2. Model one change at a time
Cover the later pictures or point to only the current step. Name the pencil movement in plain language, such as “make a wide oval” or “add one curved side.” Pause until most children are ready before moving forward.
3. Compare, do not correct
Ask, “What did this step add?” rather than telling the child that a line is wrong. If a shape is uneven, look for a simple adjustment or let it become part of the design. Natural objects and animals are rarely perfectly symmetrical.
4. Add an independent choice
After the final guided step, invite the child to choose a shell pattern, leaf color, facial expression, weather detail, habitat, or short story. This is where a shared lesson becomes original artwork.
Common Drawing Difficulties and Helpful Responses
The first shape is too small
Children often begin cautiously and leave no room for later details. Before drawing, trace a large imaginary oval or curve in the air. Point to the area the main shape should fill, but let the child decide its exact form.
Every step is drawn as a separate object
Demonstrate how new lines touch, overlap, or continue from the earlier shape. Use a finger to follow the connection before the pencil moves. This is especially helpful for turtle flippers, pumpkin ribs, stems, and leaves.
The child erases repeatedly
Limit erasing during the first attempt. An extra mark can become texture, grass, a bubble, a shadow, or part of a pattern. Confidence grows when children learn that a drawing can continue after an unexpected line.
Learning Objectives for Preschool and Kindergarten
Choose one or two objectives for a lesson rather than expecting every skill at once. A child may work on listening and sequence one day, then revisit the same worksheet later to practice pencil control or storytelling.
- Follow a visual sequence containing four to six steps.
- Use familiar shapes and lines to build a recognizable picture.
- Place details in relation to a main shape.
- Make at least one independent artistic choice.
- Describe the drawing using shape, position, color, or feeling words.
Quick Mastery Check
The activity is successful when the child can explain what changed from one step to the next, draw the main parts in a sensible order, and add a personal detail without needing the adult to redraw the picture. A polished or perfectly symmetrical result is not required.
If the child cannot yet follow the full sequence, use fewer steps, enlarge the model, or draw together on a whiteboard. Children who are ready for more challenge can hide the guide after studying it and recreate the picture from memory.
Print and Use the Free Worksheets
Print the selected worksheet at 100% on A4 paper. Use a pencil for the first lines, then offer crayons, colored pencils, or washable markers. The activities work well in an art center, as morning work, during a seasonal lesson, at home, or as a calm early-finisher task.
Begin with one lesson and repeat it on another day. Familiarity lets children use less attention on the sequence and more on proportion, pattern, color, and storytelling.